What is an easy way to import OST file into Outlook? This is a big question but before that it is important to know all about Offline Storage Table (OST) file and why it is required?
During your business trip or during a visit to the remote place where there is lack of internet connection and it is quite urgent to use your webmail then how will you manage? In such a scenario, you need to check your emails offline and in such a scenario, you feel the need for an email client such as MS Outlook, Apple Thunderbird, Lotus Notes, etc.
Here we are discussing about MS Outlook. This email client supports offline. Outlook has an OST file which is shortened for Offline Storage Table (.ost) file which allow users to work with several emails and messages even when there is no access to mail servers. This file is an offline Outlook Data file used by Microsoft Exchange Server. These files help users work with offline inbox and outbox and then allow them to make the changes locally and afterwards it is synchronized to the server when get connected to the internet.
What’s the need to open or import OST file into Outlook 2007, 2010, 2013 and 2016?
There are instances when people get disconnected from their current profile either accidentally or intentionally. Since the profile is changed, it becomes almost difficult to import their OST files in Outlook. It also happens sometimes that user’s ID is changed which leads to loss of old emails.
In that scenario, users feel the need to import OST files. However, due to security reasons, Outlook doesn’t support opening or importing OST file in Microsoft® Outlook. There are so many methods to import OST files. Go through all of them given below:
Manual Method to Import OST file into Outlook:
Given below are some of easy methods to import Offline Outlook files:
Method#1: Use Cached Exchange Mode
- First, Open Control Panel
- Then, Go to Mail option and in the title bar of Mail Setup your current profile will be shown
Note: If you are willing to see other profile, click Show Profiles and choose other profile
- After this, Click ‘Properties’ and then go to ‘Email’ tab and select the ‘Exchange account’ and click on ‘Change’
- Please check, if “Use Cached Exchange Mode” checkbox is selected then uncheck it
- Next, click on ‘More Settings’ and then go to ‘Advanced’ tab, and click ‘Offline Folder File Settings’.
- Choose the option ‘Disable Offline Use check box’ and click ‘Yes’
- Once again click ‘Offline Folder File Settings’ click ‘OK’ and again ‘Yes’
- Go to Cached Exchange Mode Settings, choose ‘Use Cached Exchange Mode check box’.
- Click OK >> Next >> Finished
- Close the Account Settings and Mail Setup Windows
Method#2: Recreate an offline Outlook Data File(.ost)
- First of all close Outlook
- Then, Open Control Panel and go to Mail option.
- In the title bar of Mail Setup, you will see your current profile
Note: If you want to see your other profile, then click Show Profiles and choose other profile
- Go to Properties >> Mail Setup window >> E-mail Accounts
- In Data Files tab, choose the Exchange Account
- From the Toolbar, click open Folder Location
- Make sure that Account Settings and Mail Setup window are closed
- In the File Location window, right-click on the Data File and choose Delete
When you open Outlook again, new OST files will be created for the current account.
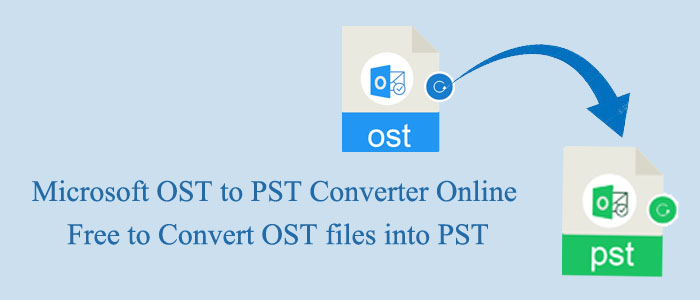
In the End: As OST files are offline file, so it is sometimes tricky to open and import OST file in Outlook. Though there are manual methods to import OST files but there is no guarantee of data safety. Also, such methods are complicated and time consuming too. It is thus suggested to utilize a professional software solution such as OST to PST Converter. The third-party software supports converting OST files in PST so that users can import and open OST file in Outlook.


